Average response time: under 24 hours
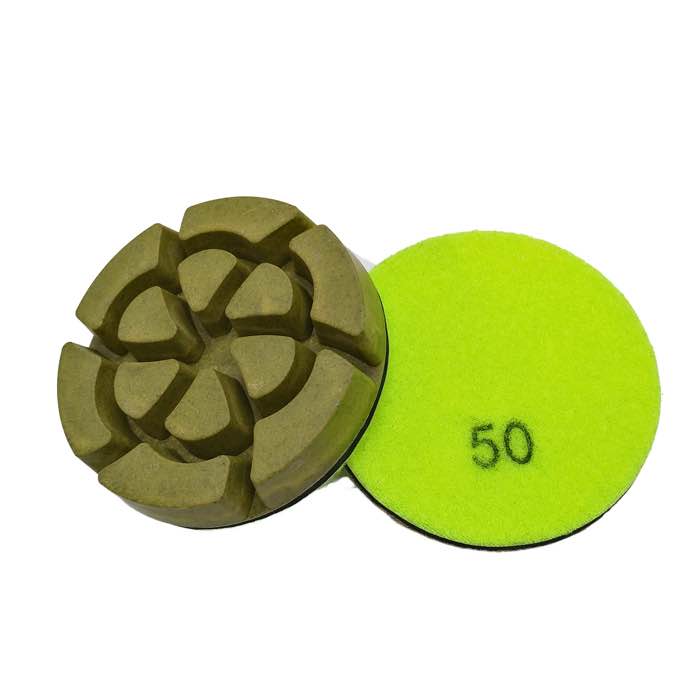
A polished finish is built step by step, and every grit stage has a job to do. Burnish toe kicks and tight cabinet edges with small 3-inch pads on a hand grinder or oscillating tool, working the same grit stage sequence as the main floor. Protect the cabinets with tape, industrial vacuum between grit stages, and feather the edges into the field.
For machine-matched tooling, browse our Diamond Resin Polishing Pads for Concrete & Terrazzo... range.What matters most in this stage.
Miss this step and the gloss will not come up evenly.
The practical details.
Crews that rush this part rarely get a mirror finish.
Key points for the polishing sequence.
This stage decides how much reflection the floor finally shows.
A: In short, Yes — match the floor finish or the gap will be visibly duller. Small pads make it practical.
A: The practical answer is, No — the guard blocks access. Use hand tools and small pads in confined areas.
A: For most jobs, Tape the gap and clean up grinding slurry immediately with a damp cloth and industrial vacuum.
Looking for the right tool? Check our Diamond Resin Floor Polishing Pads. Looking for the right tool? Check our 8 Triangles Diamond Resin Floor Polishing Pads.Follow the grit ladder in order, keep the pads flat, and the gloss builds predictably. Use 3-inch resin pads on hand tools, protect the cabinetry, and match the field sequence so toe kicks blend perfectly.
Written and reviewed by JOY TECH - an SGS & BV audited, CE/RoHS certified diamond tools manufacturer founded in 2004, exporting to 50+ countries.
Our factory and quality management system are audited by SGS and Bureau Veritas. Products meet CE/RoHS requirements and every piece is 100% inspected before packing.
Verified Certificates
