Average response time: under 24 hours
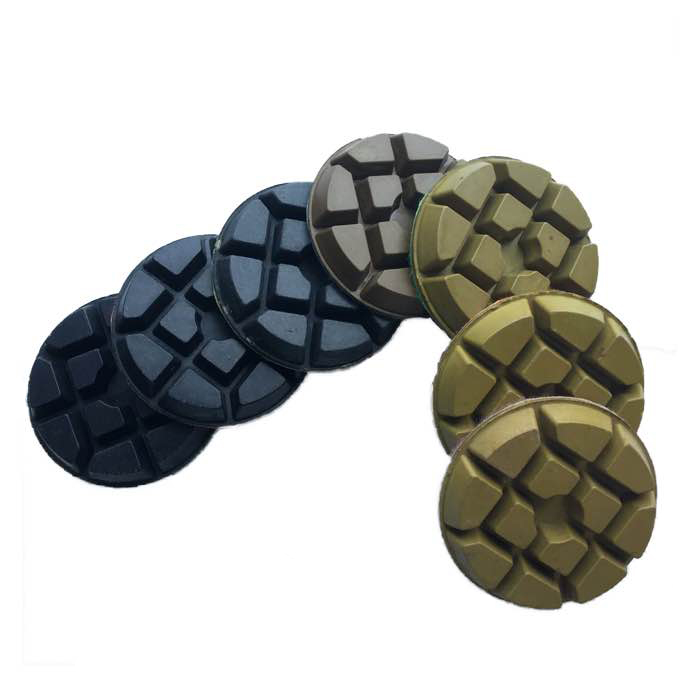
Polishing a concrete floor is a staged process: grind with metal bond diamonds from coarse to fine grit, apply densifier to harden the surface, continue with resin and transitional pads, then burnish for gloss. The whole sequence moves from aggressive stock removal to fine honing, and skipping steps shows up immediately in scratch marks or a dull finish.
For machine-matched tooling, browse our Diamond Resin Polishing Pads for Concrete & Terrazzo... range.Walk the floor and check for coatings, glue, cracks and soft patches. Test hardness with a scratch test or hardness tester, then choose the bond that matches: soft bond for hard concrete, hard bond for soft concrete. Remove any coatings with PCD tools or a scarifier before grinding.
Start with a coarse grit such as 16# or 30/40# metal bond to level the floor and remove surface defects. Work in overlapping passes, keep the machine moving at a steady speed, and vacuum dust as you go. The goal is a flat, uniform profile, not a mirror - this step is about cutting.
Move through the grinding ladder - 60/80#, then 100/120# or 150# - changing direction with each grit so any remaining scratches cross-cut and become finer. Switch to hybrid or resin pads when the surface is smooth to the touch and the coarse scratches are gone.
Spray a lithium or sodium silicate densifier onto the clean, damp or dry surface and let it penetrate. The densifier reacts with free lime to harden the concrete, which reduces dusting and lets the fine grits achieve a better reflection. Follow the manufacturer's curing time before polishing.
Continue with resin pads from 200# through 400#, 800#, 1500# and 3000#. Each finer grit removes the haze left by the previous step. Keep pads flat and change them when they load. For a high-gloss floor, finish at 1500# or 3000#; for a matte or satin look, stop earlier.
Finish with a burnishing pad or a final pass with a fine pad to bring up the gloss. Optionally apply a polish guard or sealer to protect the floor and simplify cleaning. Let the floor cure for a few days before heavy traffic.
A>Typical jobs run 3-7 days for 1000 square metres, depending on floor condition, machine count and crew size.
A>Yes, but the surface will be softer, dust more and hold a lower gloss. Densifying is recommended for a durable finish.
A>Work up to at least 1500#, then 3000# and burnishing for a true mirror.
A>For large floors yes. For small areas, an angle grinder with the right pads works, though the finish takes longer.
A>Concrete dust contains crystalline silica, so always use a vacuum with a HEPA filter and wear a respirator.
Looking for the right tool? Check our Diamond Resin Floor Polishing Pads. Looking for the right tool? Check our 8 Triangles Diamond Resin Floor Polishing Pads.Concrete polishing is a disciplined sequence of grinding, densifying and polishing. Follow each stage with the right bond and grit, and the floor rewards you with a durable, low-maintenance surface. When in doubt, ask your tool supplier to match the bond and grit plan to your concrete hardness and machine.
Written and reviewed by JOY TECH - an SGS & BV audited, CE/RoHS certified diamond tools manufacturer founded in 2004, exporting to 50+ countries.
Our factory and quality management system are audited by SGS and Bureau Veritas. Products meet CE/RoHS requirements and every piece is 100% inspected before packing.
Verified Certificates
