Average response time: under 24 hours
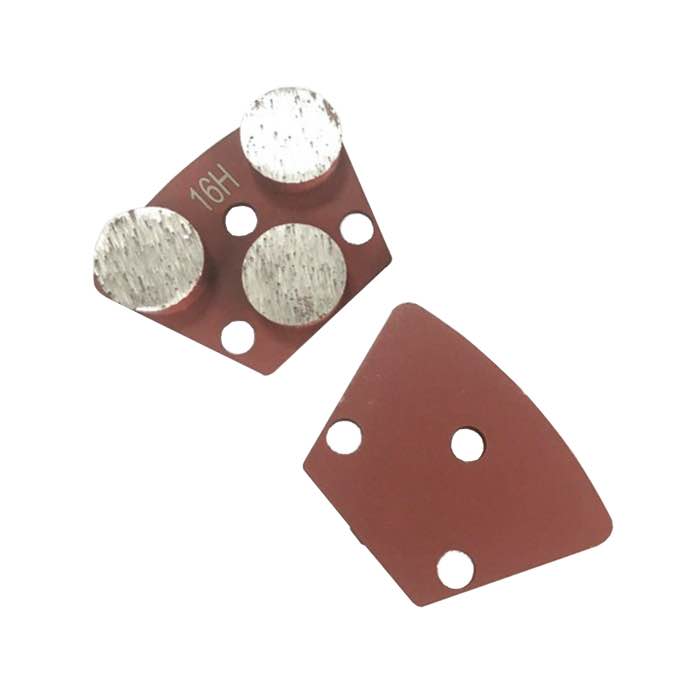
Rake marks and rough surfaces come down to the same root causes: machine condition, tooling match and technique. When you require to strip 2-5 mm of concrete, start at a coarser grit stage than you think—in most cases 16/20 or 30/46—and stage through 60, 120, 200, 400 before resin. Skipping a grit stage wastes time because the next finer disc cannot erase the previous scratch mark.
For machine-matched tooling, browse our 3'' Metal Bond Diamond Grinding Disc with 4 Segments range.A closer look at the details.
Our R3 round-segment shoes is stocked in 30/46 and 60 grit stage; ask for other grit stages.
Getting this part right saves a full re-pass later.
What you should know before starting.
Each grit stage cuts a specific depth of scratch mark.
Contractors who skip this stage usually end up redoing the floor.
The key points in practice.
Browse concrete abrading discs category for the full metal-bond range.
This is where most crews get it right - or lose time.
A: In short, Only if you require to strip significant concrete. On a normal floor, 30 is aggressive enough.
A: The practical answer is, When the previous scratch mark pattern is fully gone. Walk the floor in raking light.
A: For most jobs, For glossy concrete, yes. For epoxy resin prep, metal-bonded matrix 120 is the finish line.
Looking for the right tool? Check our 3'' Metal Bond Diamond Grinding Disc with 10 Segments. Looking for the right tool? Check our 3'' Metal Bond Diamond Grinding Disc with 5 Segments.Match the tooling to the concrete, keep the machine in good condition, and run even passes - the finish follows. Start coarse, stage every grit stage, and do not skip.
Written and reviewed by JOY TECH - an SGS & BV audited, CE/RoHS certified diamond tools manufacturer founded in 2004, exporting to 50+ countries.
Our factory and quality management system are audited by SGS and Bureau Veritas. Products meet CE/RoHS requirements and every piece is 100% inspected before packing.
Verified Certificates
