Average response time: under 24 hours
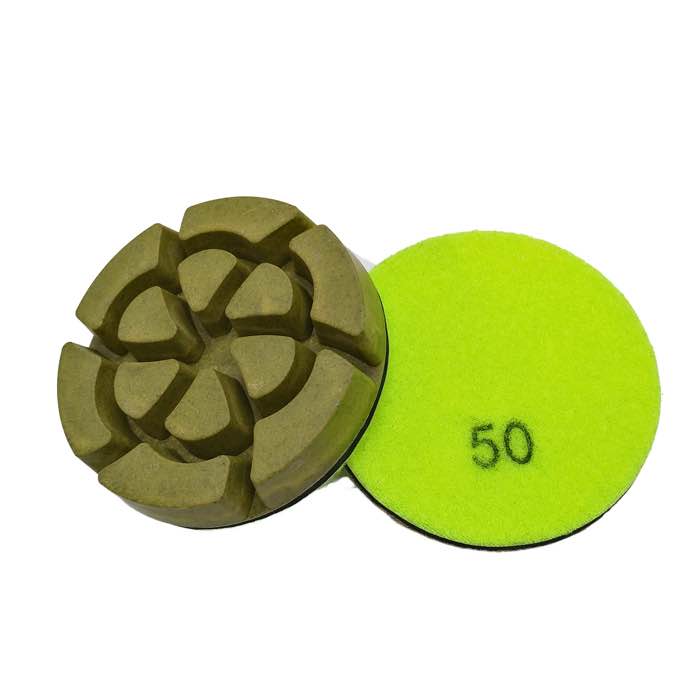
The gloss comes from the sequence, not from any single pad. The fix is to re-cut the floor from one or two grit stages back and re-burnish cleanly, vacuuming between every stage. Scratch marks after burnishing almost always come from skipped grit stages, contaminated pads, excessive pressure, or pads that have worn past their useful life.
For machine-matched tooling, browse our Diamond Resin Polishing Pads for Concrete & Terrazzo... range.The practical details.
Crews that rush this part rarely get a mirror finish.
Key points for the polishing sequence.
This stage decides how much reflection the floor finally shows.
What matters most in this stage.
Miss this step and the gloss will not come up evenly.
A: The practical answer is, You require to re-burnish the affected area from the coarser grit stage; spot-burnishing the final grit stage alone will not strip deeper scratch marks.
A: For most jobs, Clean the pad face and industrial vacuum the floor before every grit stage change — contamination is the number one cause of new scratch marks.
A: In short, Wet burnishing keeps fine dust in suspension and runs cooler, which reduces scratch mark risk, but skipped grit stages still scratch mark wet or dry.
Looking for the right tool? Check our Diamond Resin Floor Polishing Pads. Looking for the right tool? Check our 8 Triangles Diamond Resin Floor Polishing Pads.The finish is the sum of the stages - stay disciplined and the floor shines. A reliable pad set like the 3'' Diamond Resin Floor burnish pads (JOY-RFP-05) or the 3'' 15mm Thickness Diamond Dry burnish pads (JOY-RFP-06) helps, but the discipline between grit stages matters more.
Written and reviewed by JOY TECH - an SGS & BV audited, CE/RoHS certified diamond tools manufacturer founded in 2004, exporting to 50+ countries.
Our factory and quality management system are audited by SGS and Bureau Veritas. Products meet CE/RoHS requirements and every piece is 100% inspected before packing.
Verified Certificates
