Average response time: under 24 hours
The gloss comes from the sequence, not from any single pad. If your glossy concrete still looks dull or matte after running the full grit stage sequence, the cause is almost always one of four things: the slab was not properly densified before resin burnishing, you skipped or jumped grit stages leaving deep scratch marks, the resin burnish pads are too soft or too hard for your concrete, or the surface was not adequately ground level and open in the metal stage. A truly reflective finish is built on a level, dense, scratch mark-free substrate - you cannot burnish reflectivity into a soft, porous, scratched slab.
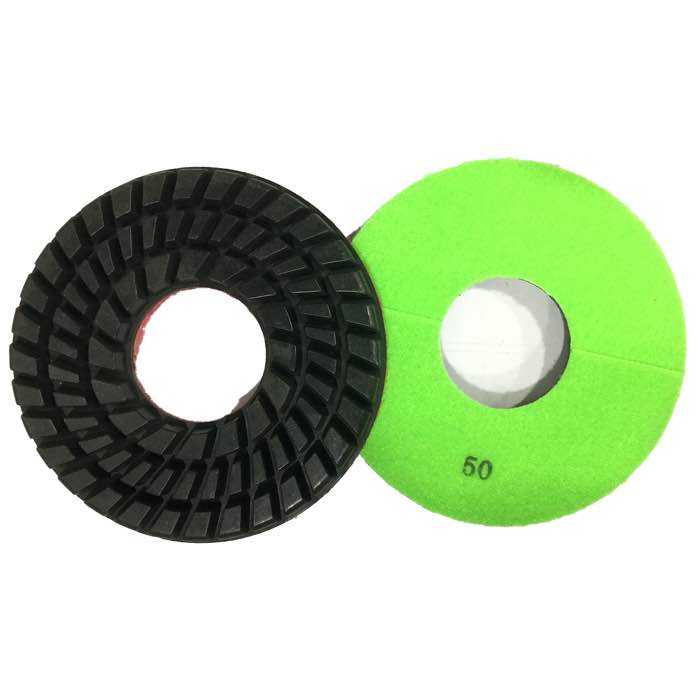
For machine-matched tooling, browse our Diamond Resin Polishing Pads for Concrete & Terrazzo... range.The practical details.
Mirror finish on glossy concrete comes from compressing the cementitious material paste into an optically even layer, not from coating layer it.
When that layer stays coarse or porous, light scatters instead of reflecting.
Crews that rush this part rarely get a mirror finish.
Key points for the polishing sequence.
Start with metal-bond diamond shoes to flatten and open the slab, then move in even grit steps (e.g.
Apply the densifying sealing layer once the floor holds a light grinding slurry and has been cleaned, let it penetrate and dry fully, then continue with resin-bond transitional and burnish pads.
This stage decides how much reflection the floor finally shows.
What matters most in this stage.
Run the equipment at the producers's recommended speed, make deliberate overlapping passes, and keep the head level on the floor.
Miss this step and the gloss will not come up evenly.
The practical details.
A lean, dusty, low-strength slab (below roughly 3,000 psi) has weak paste that will never build a deep mirror, no matter how many grit stages you run.
Second, inspect under a bright work light at a low angle - if you see a repeating scratch mark pattern running one direction, you left scratch marks from an earlier grit stage and must drop back.
Crews that rush this part rarely get a mirror finish.
Key points for the polishing sequence.
Run this list in order whenever a burnished floor disappoints: confirm the slab was densified while open; verify no grit step was skipped; inspect that the resin-bonded matrix matches the concrete hardness; inspect flatness with a straightedge; and finally confirm the floor was burnished after 3000 grit stage.
This stage decides how much reflection the floor finally shows.
A: In short, No. Higher grit stages only refine existing scratch marks; they cannot fix a soft, porous or badly scratched substrate. You must correct the foundation before burnishing further.
A: The practical answer is, Wet burnishing can produce clarity, however excess water dilutes the densifying sealing layer reaction. Dry burnishing after densification is what builds reflection on most modern projects.
A: For most jobs, In most cases the slab kept dusting because it was never densified. The surface paste wears off under traffic, exposing dull aggregate and pores.
A: In short, They enhance an already level, dense floor. Burnishing pads cannot rescue a floor that was under-ground or under-densified.
Looking for the right tool? Check our Diamond Resin Floor Polishing Pads. Looking for the right tool? Check our 8 Triangles Diamond Resin Floor Polishing Pads.The finish is the sum of the stages - stay disciplined and the floor shines. Inspect the densifying sealing layer timing, confirm you did not skip grit stages, match the pad bond to your concrete, and re-establish flatness before blaming the burnish.
Written and reviewed by JOY TECH - an SGS & BV audited, CE/RoHS certified diamond tools manufacturer founded in 2004, exporting to 50+ countries.
Our factory and quality management system are audited by SGS and Bureau Veritas. Products meet CE/RoHS requirements and every piece is 100% inspected before packing.
Verified Certificates
